

Before we dive in, make sure you got the Cordova CLI installed.
pnpm add -g cordovaDeveloping
quasar dev -m cordova -T [ios|android]

# ..or the longer form:
quasar dev --mode cordova --target [ios|android]

# passing extra parameters and/or options to
# underlying "cordova" executable:
quasar dev -m cordova -T ios -- some params --and options --here
# when on Windows and using Powershell:
quasar dev -m cordova -T ios '--' some params --and options --here
It will open the IDE (Android Studio / Xcode) and from there you can manually select the emulator (or multiple ones simultaneously!) and install the dev app on it/them. You can also run the dev app on a real mobile/tablet device.
Do not accept Android Studio upgrade suggestions automatically. Confirm that the proposed Java, Gradle, Android Gradle Plugin, and SDK versions are supported by the installed cordova-android version.

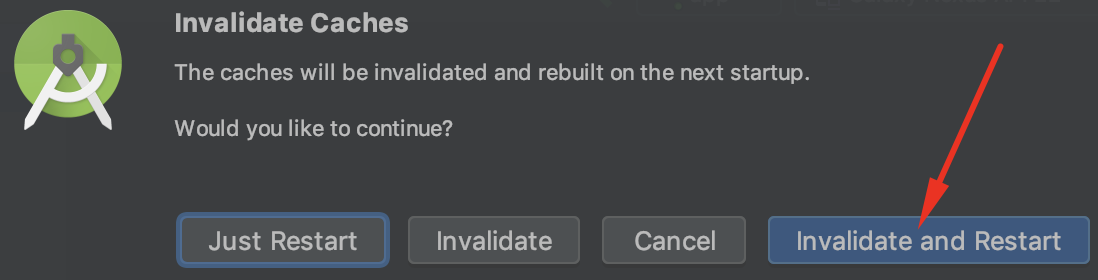
If you encounter any IDE errors then click on File > Invalidate caches and restart.
In order for you to be able to develop on a device emulator or directly on a phone (with Hot Module Reload included), Quasar CLI follows these steps:
- Detects your machine’s external IP address. If there are multiple such IPs detected, then it asks you to choose one. If you’ll be using a mobile phone to develop then choose the IP address of your machine that’s pingable from the phone/tablet.
- It starts up a development server on your machine.
- It temporarily changes the
<content/>tag in/src-cordova/config.xmlto point to the IP previously detected. This allows the app to connect to the development server. - It runs
cordova preparefor the selected platform. - It opens Android Studio or Xcode, where you select and run an emulator, simulator, or connected device.
- When the Cordova development process stops, Quasar reverts its temporary changes to
/src-cordova/config.xml.
When developing on a physical device, the selected address of the development machine must be reachable from that device. Ensure the firewall permits the development-server port and that the network does not isolate connected clients.
Building for production
quasar build -m cordova -T [android|ios]

# ..or the longer form:
quasar build --mode cordova --target [ios|android]

# this skips .app or .apk creation and just fills in /src-cordova/www
quasar build -m cordova -T [ios|android] --skip-pkg

# passing extra parameters and/or options to
# underlying "cordova" executable:
quasar build -m cordova -T ios -- some params --and options --here
These commands parse and build your
/srcfolder then overwrite/src-cordova/wwwthen defer to Cordova CLI to trigger the actual native app creation.Built packages will be located in
/dist/cordovaunless configured otherwise.If you wish to skip the native Cordova build, generate
/src-cordova/wwwand runcordova prepareonly:
quasar build -m cordova -T [ios|android] --skip-pkg- Should you wish to manually build the final assets using the IDE (Android Studio / Xcode) instead of doing a terminal build, then:
quasar build -m cordova -T [ios|android] --ideDo not accept Android Studio upgrade suggestions automatically. Check the compatibility requirements of the installed Cordova platform before changing the native toolchain.
If you encounter any IDE errors then click on File > Invalidate caches and restart.
If you want a production build with debugging enabled for the UI code:
quasar build -m cordova -T [ios|android] -d

# ..or the longer form
quasar build -m cordova -T [ios|android] --debugAlso check getCordovaBuildParams() and getCordovaBuildOutputFolder() (quasar.config > cordova options) from Configuring Cordova page.