Before we dive in to the actual development, we need to do some preparation work.
Step 1: Installation
Android setup
You will need to install Android Studio and the Android platform SDK on your machine. You can download the Android Studio here and follow these installation steps afterwards.
Make sure that after you install the Android SDK you then accept its licenses. Open the terminal and go to the folder where the SDK was installed, in tools/bin and call
sdkmanager --licenses.
WARNING
The environmental variable ANDROID_HOME has been deprecated and replaced with ANDROID_SDK_ROOT. Depending on your version of Android Studio you may need one or the other. It doesn’t hurt to have both set.
- Add Android installation to your path:
Unix (macOS, linux)
export ANDROID_HOME="$HOME/Android/Sdk"
export ANDROID_SDK_ROOT="$HOME/Android/Sdk"
PATH=$PATH:$ANDROID_SDK_ROOT/tools; PATH=$PATH:$ANDROID_SDK_ROOT/platform-toolsPlease note that sometimes the
/Android/Sdkfolder is added inside/Library/inside your user folder. Check your user folder and if the/Android/folder is only inside/Library/do:export ANDROID_SDK_ROOT="$HOME/Library/Android/Sdk"orexport ANDROID_HOME="$HOME/Library/Android/Sdk"instead.
Windows
setx ANDROID_HOME "%USERPROFILE%\AppData\Local\Android\Sdk"
setx ANDROID_SDK_ROOT "%USERPROFILE%\AppData\Local\Android\Sdk"
setx path "%path%;%ANDROID_SDK_ROOT%\tools;%ANDROID_SDK_ROOT%\platform-tools"Start Android studio (check the executable in the folder that you installed it in). Next step is to install the individual SDKs:
Open the “Configure” menu at the bottom of the window:

Select the desired SDKs and click on “Apply” to install the SDKs.

iOS setup
You will need a macOS with Xcode installed. After you’ve installed it, open Xcode in order to get the license prompt. Accept the license, then you can close it.
CocoaPods
If you haven’t installed CocoaPods, please install it by using the command: sudo gem install cocoapods. Otherwise, you may encounter errors during development or building, such as:
terminal warning
[warn] Skipping pod install because CocoaPods is not installed,
Xcode Error
/path-to/your-project/src-capacitor/ios/App/Pods/Target Support Files/Pods-App/Pods-App.debug.xcconfig:1:1 unable to open configuration settings file
Step 2: Add Capacitor Quasar Mode
In order to develop/build a Mobile app, we need to add the Capacitor mode to our Quasar project. This will use the Capacitor CLI to generate a Capacitor project in /src-capacitor folder.
$ quasar mode add capacitorStep 3: Start Developing
To start a dev server with HMR, run the command below:
$ quasar dev -m capacitor -T [android|ios]Once the dev server is ready, your IDE will open (Android Studio or Xcode) and from there you can manually select the emulator (or multiple ones simultaneously!) and install the dev app on it/them. You can also run the dev app on a connected mobile/tablet device.
WARNING
In Android Studio, you will be greeted with a message recommending to upgrade the Gradle version. DO NOT UPGRADE GRADLE as it will break the Capacitor project. Same goes for any other requested upgrades.

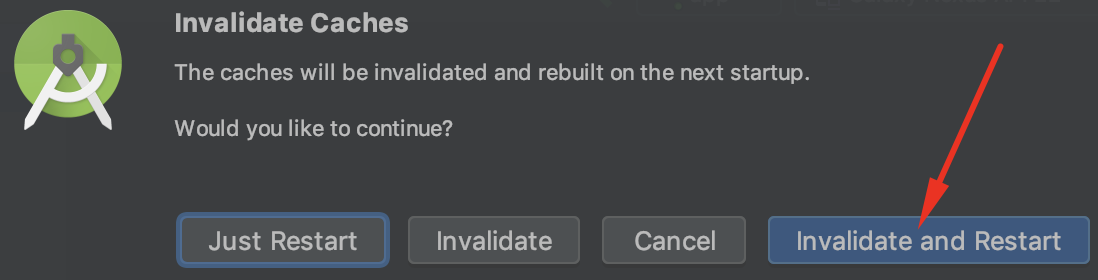
If you encounter any IDE errors then click on File > Invalidate caches and restart.